Here you find all relevant information, instructions and tips for installing, configuring and using the NicheWP WordPress Theme. This site will be kept up2date and offers you a comfortable and smooth start.
Technical requirements
Please ensure that your web hosting meets the following requirements:
- PHP 5.3 or later
- MySQL 5.0.3 or later
- WordPress 3.4 or later (tested up to the current version)
- PHP curl extension installed
In general the above-mentioned requirements are easily met by all web hosting providers. For a fast Wordpress WebHosting we recommend Bluehost.
Main- and Child-Theme
With the purchase of the theme, you got access to the following downloads:
- NicheWP Theme
- NicheWP Child-Theme
While working with themes, it’s always advisable to use a so-called “child theme” for each single project. Child themes are technically based on the main theme, however, you have the ability overwrite files (functions.php, style.css etc.) without losing these after updating the main theme.
If you don’t need to edit files of the main theme, you might dispense with using a child theme.
Child-Theme: Setup and customization
We have already prepared a child theme which can be adapted to your own project by proceeding as described:
- extract nichewp-child.zip locally
- Rename the folder according to your project: e.g. “my-project”
- Open the file “style.css” with your favourite editor (e.g. Notepad++ or Sublime) and update the theme name on the secong line: e.g. “My Project”
Now you already have a child theme, ready for your custom code snippets (functions.php) or styles (style.css). When updating the main theme, the changes inside your child theme will be retained!
Installation
The main theme has to be uploaded in any case. Activate it only when you don’t use a child theme.
When using a child theme, upload and activate it.
Installation via Uploader
- Login to your WordPress dashboard
- Navigate to Appearance – Themes and click Add New
- Click “Upload Theme”
- Select the previously downloaded nichewp.zip file and confirm by clicking Install Now
Installation via FTP
- Extract the nichewp.zip file on your computer
- Upload the nichewp directory to the /wp-content/themes/ directory
- Login to your WordPress dashboard
- Navigate to Appearance – Themes and activate the theme
That’s it!
Inside the following chapters you learn how to configure and use the theme correctly.
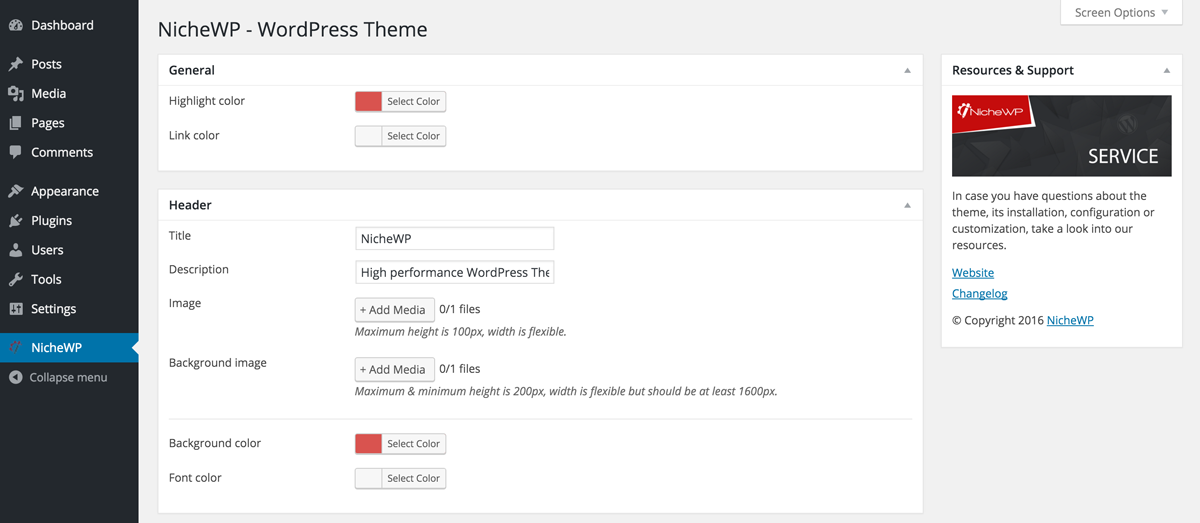
Configuration
After installing the main and child theme you are ready to start. In order to adapt the theme to your design ideas and needs, make use of the theme settings which can be found on the left side, named “NicheWP”.
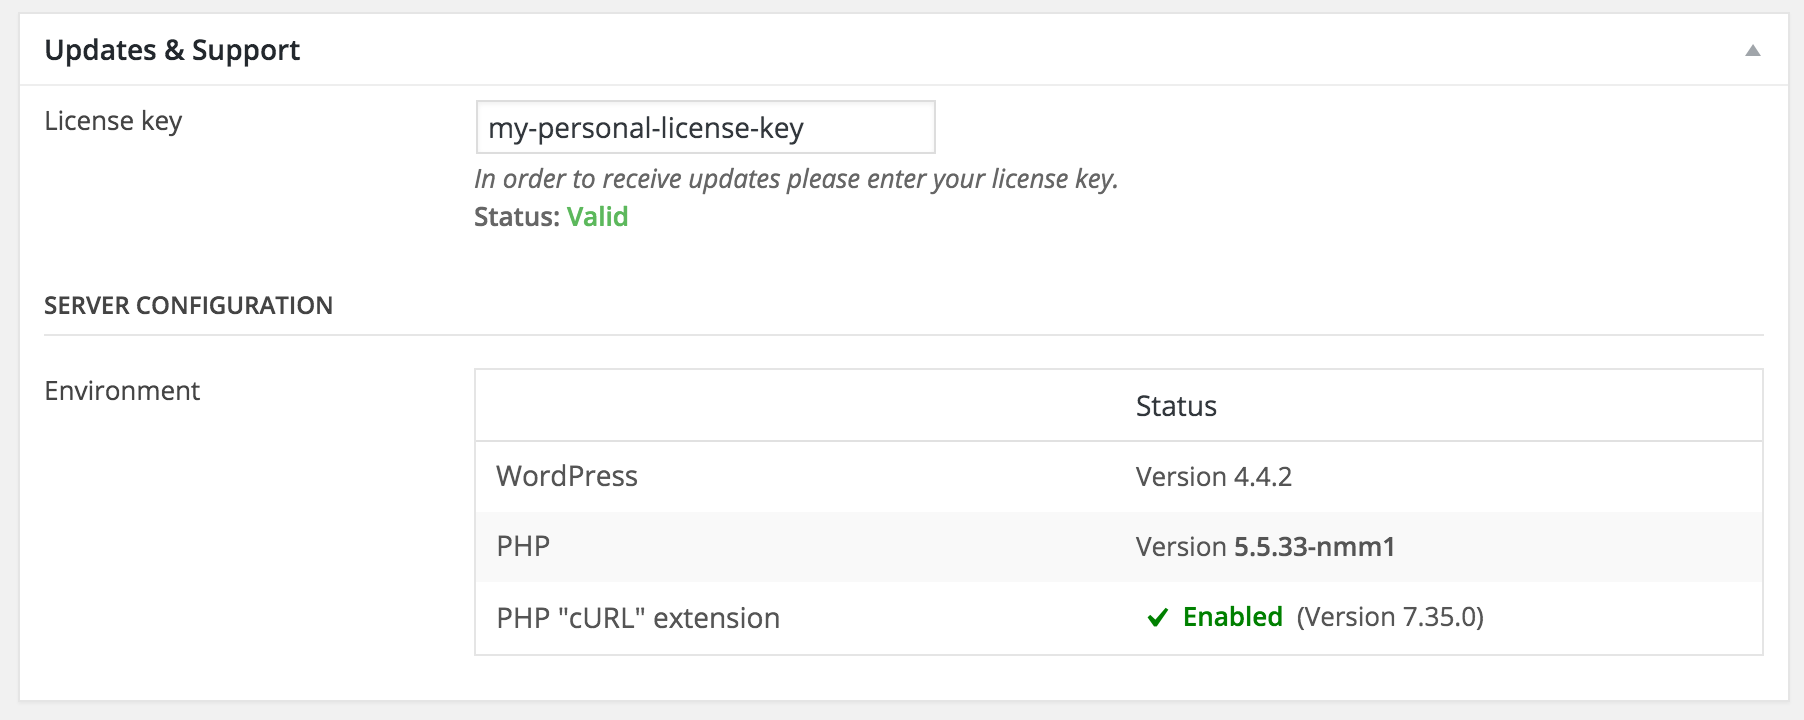
Automatic updates
In order to automatically receive all future updates, you have to activate your site.
With the purchase of the theme you have already received your license key which should be entered into the license key field at the end of the theme settings page.